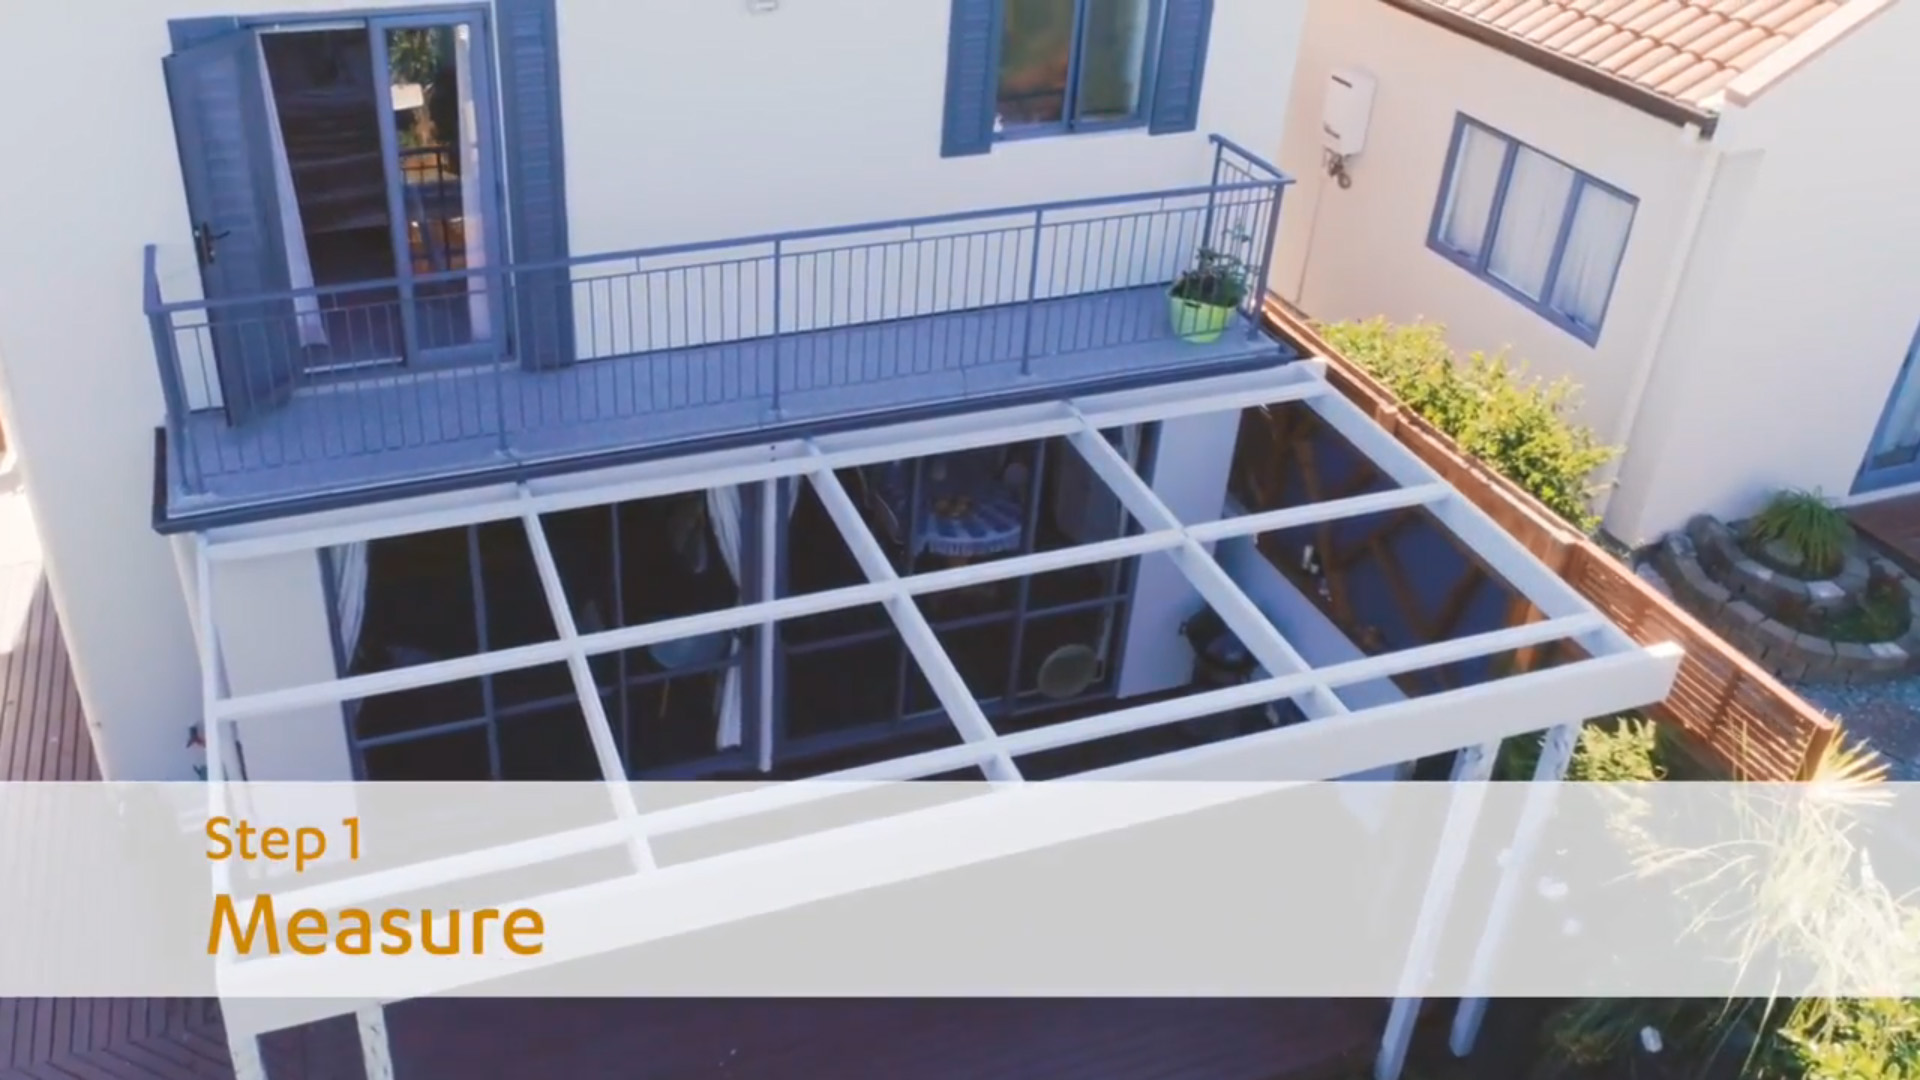
Measure the width of your structure and divide by 760mm this will give you the amount of Suntuf sheets you require.
If you want to fit a gutter, we recommend you have a sheet overhang of 50mm.
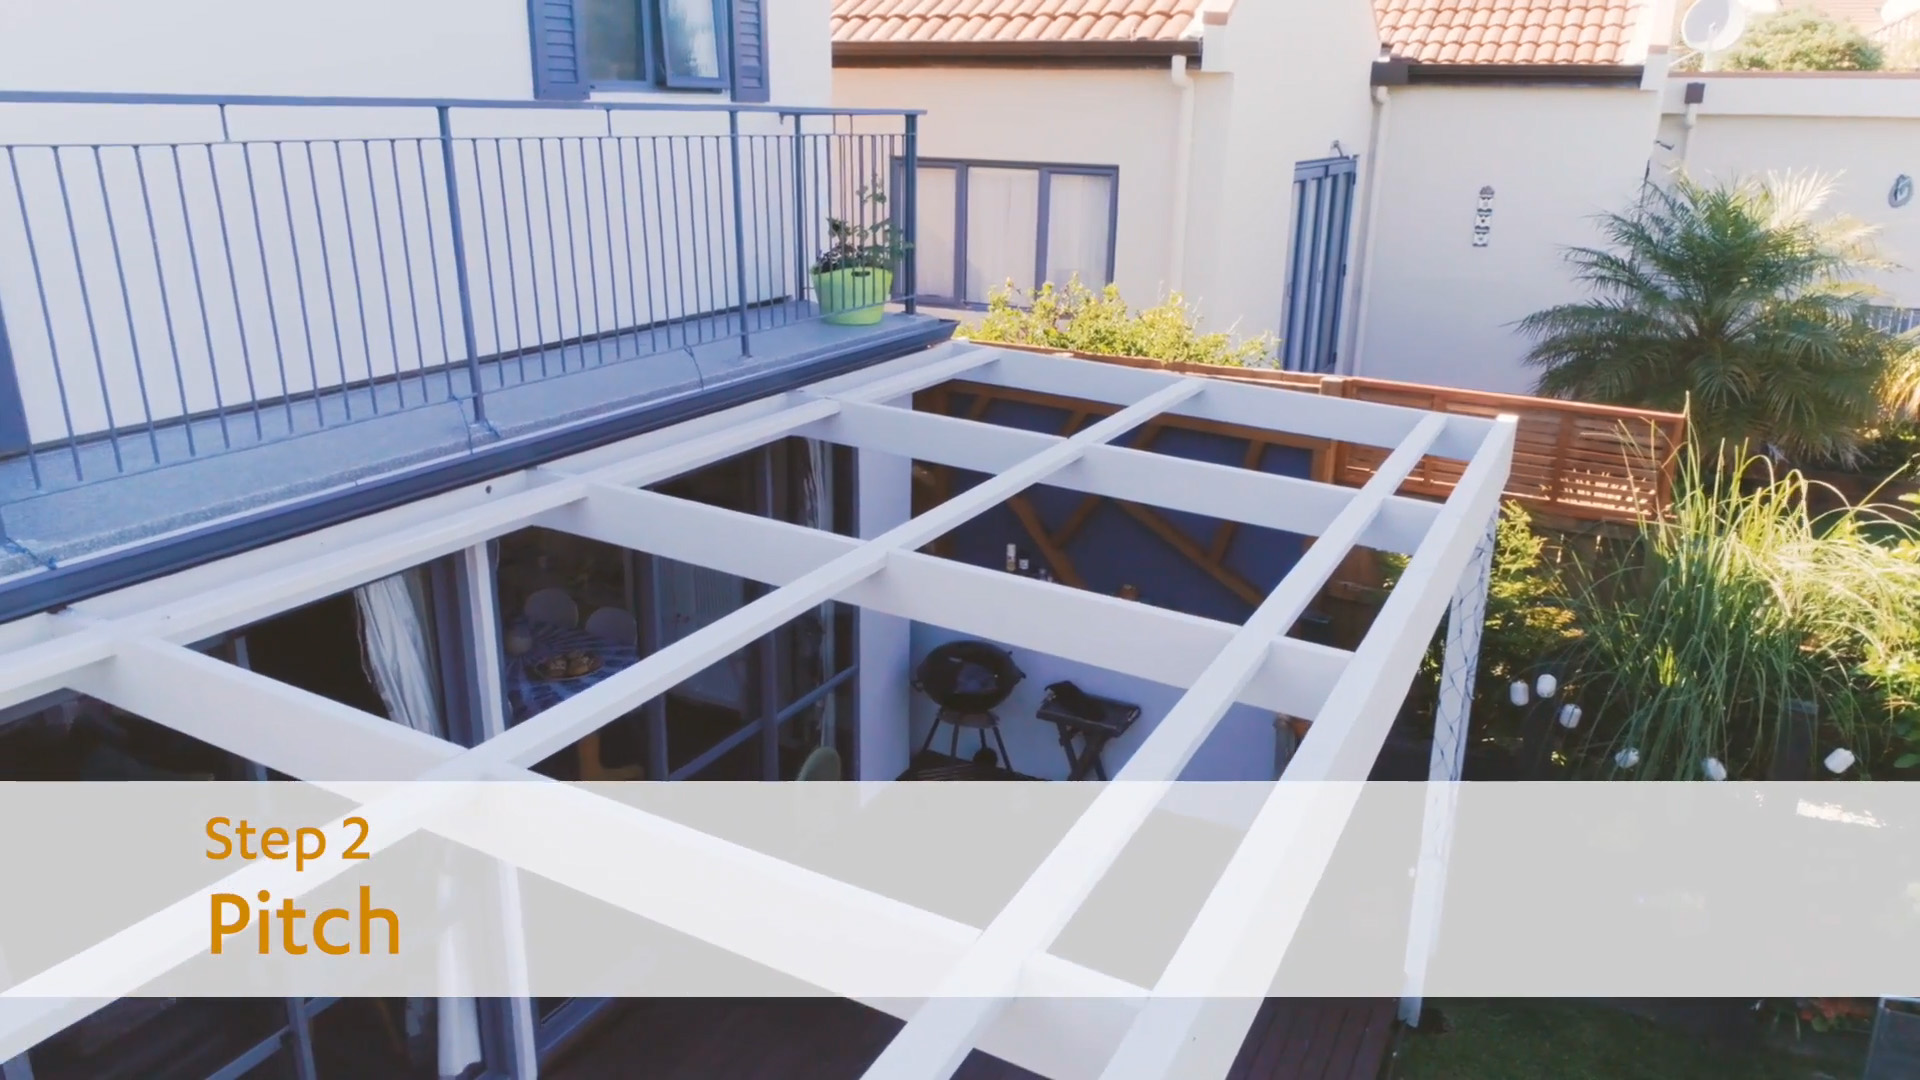
Where possible, ensure that your roof pitch is at least 10°. This will ensure adequate water runoff. If a lower pitch is desired, extra waterproofing at the high end of the roof will be required.
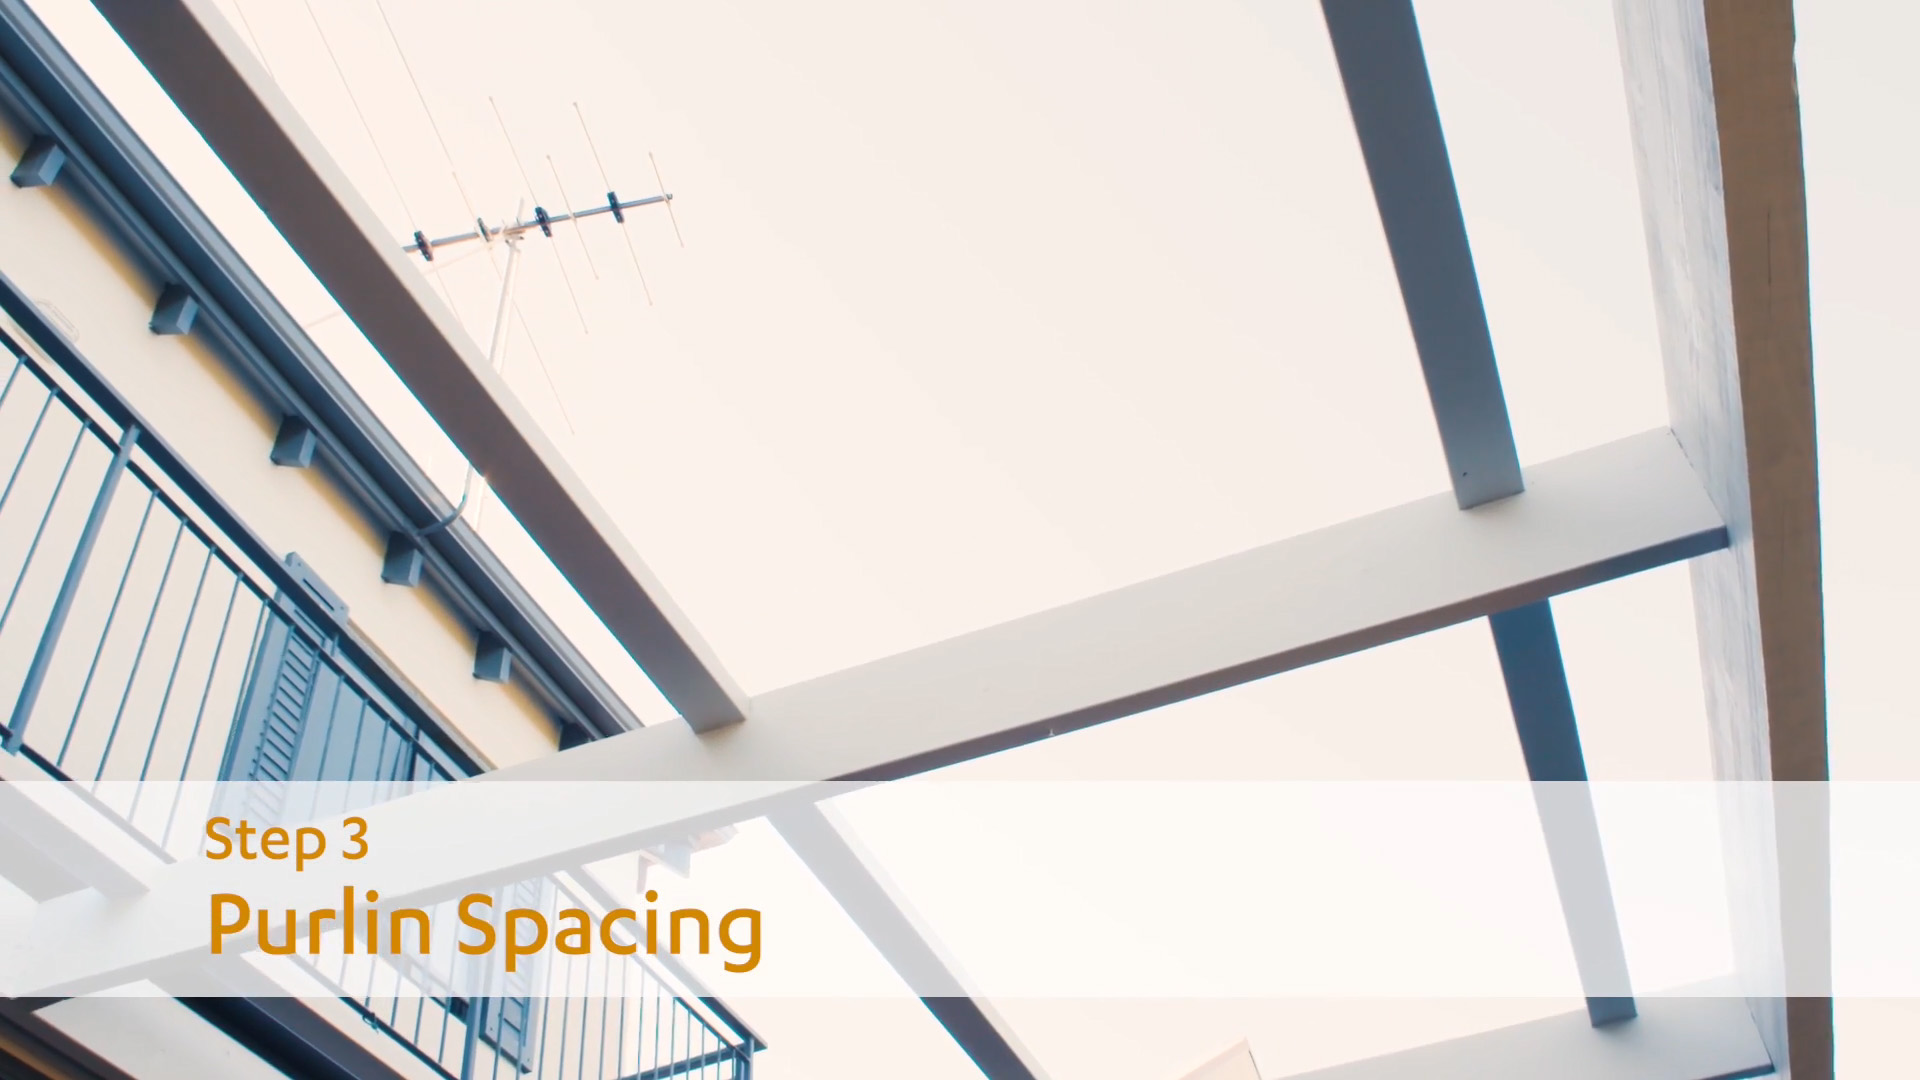
Suntuf is supported on the structure via Purlins, these are the bearers that run left to right along the width of the roof .The maximum purlin spacing for the corrugated profile is 800mm centres on the first and last purlins and 1 meter centres for the intermediate purlins. For the Greca profile 900mm first and last and 1200mm for the intermediates.
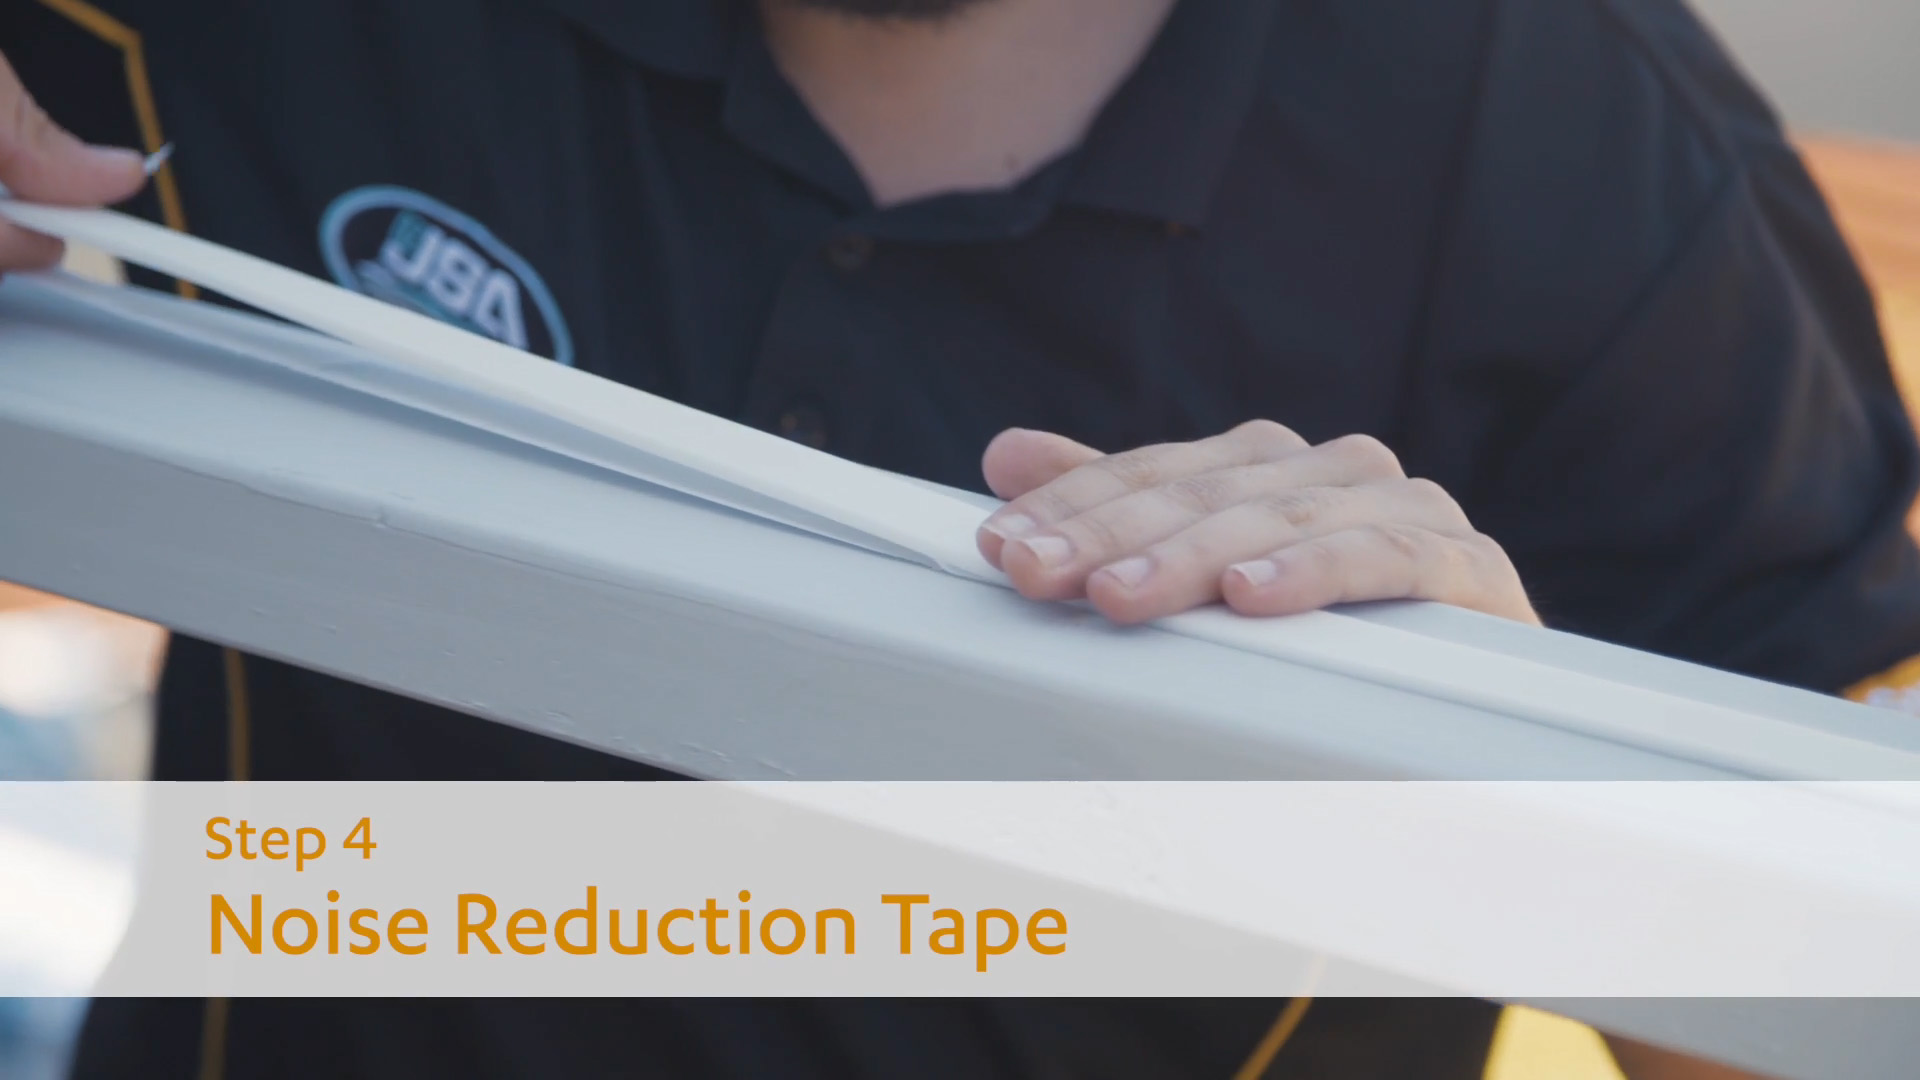
For a quiet roof - install the PSP noise reduction tape to all of the purlins, before installing the sheets. This will ensure that the expansion and contraction movement of the sheets has a minimal noise effect. Painting the tops of the purlins white is also recommended to prevent heat build-up.
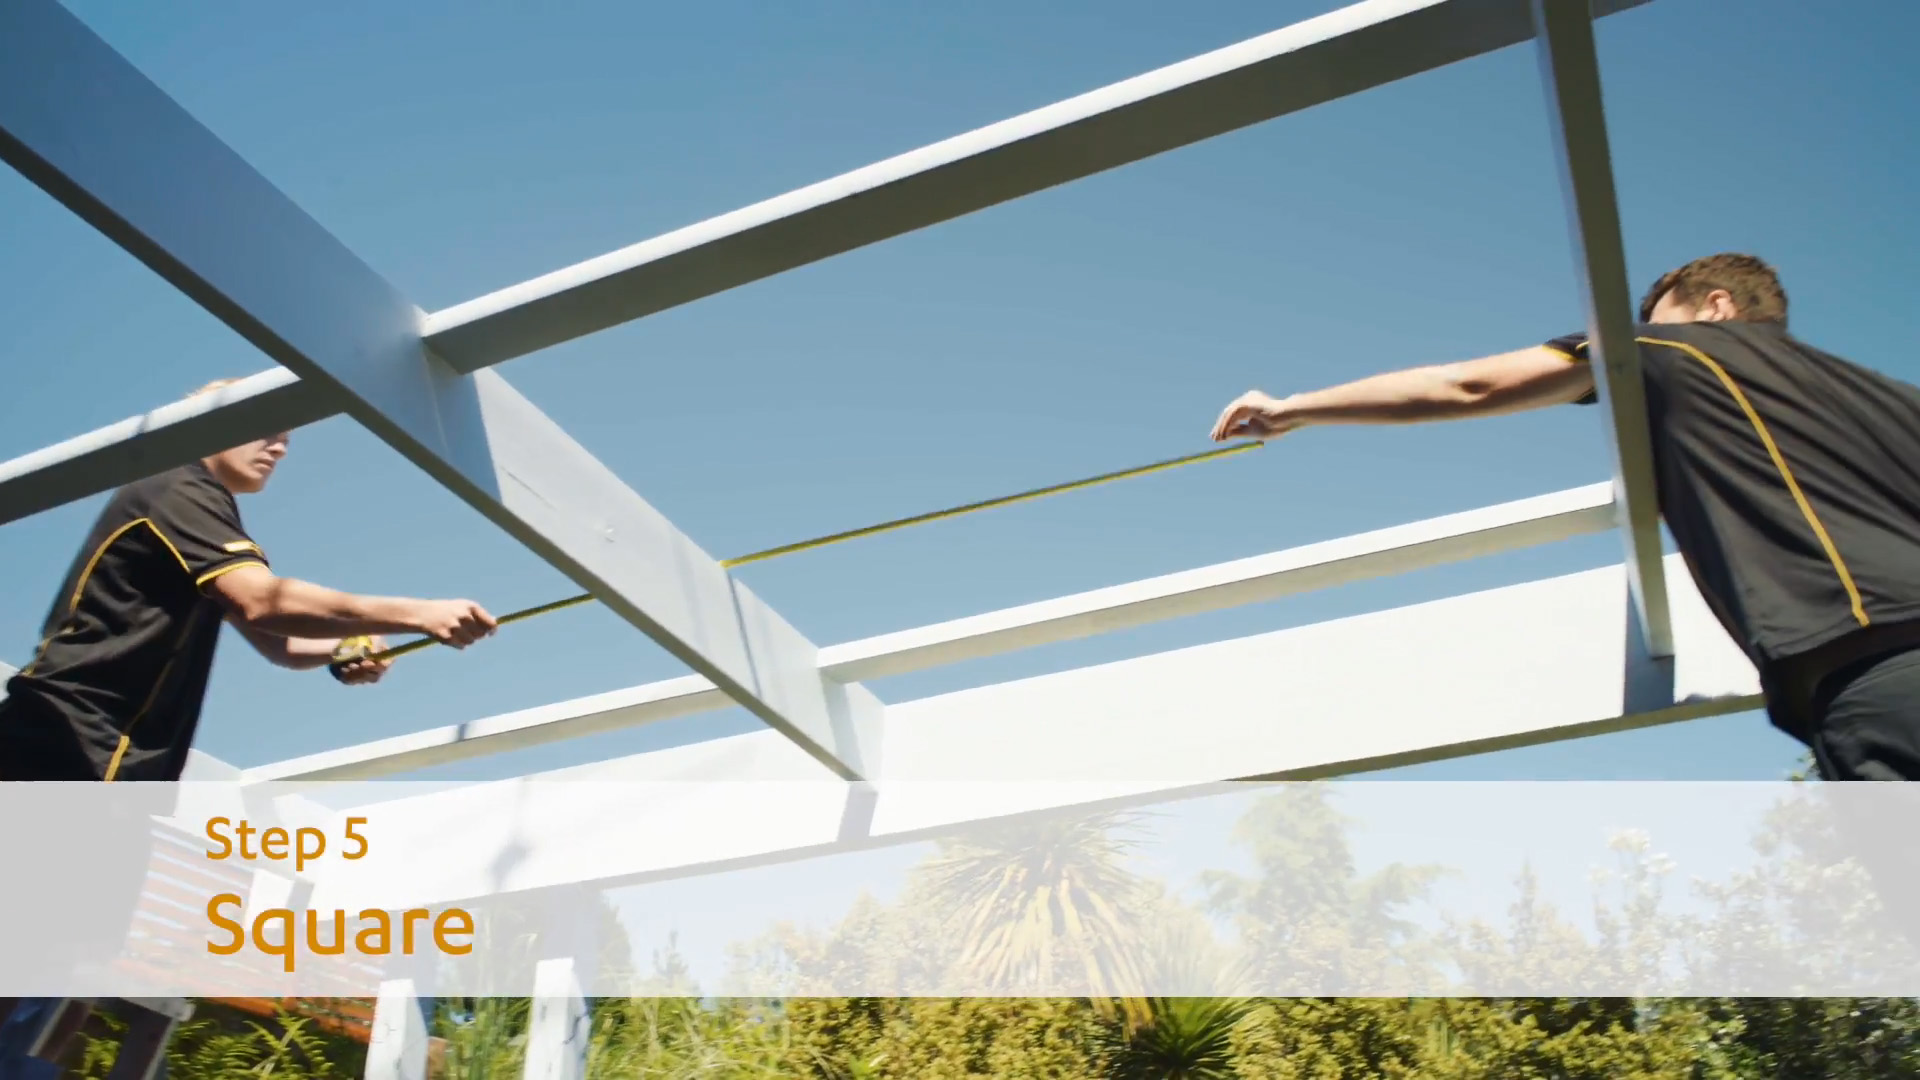
When installing the first sheet make sure it is square to the structure this will be your base mark for the rest of the sheets.
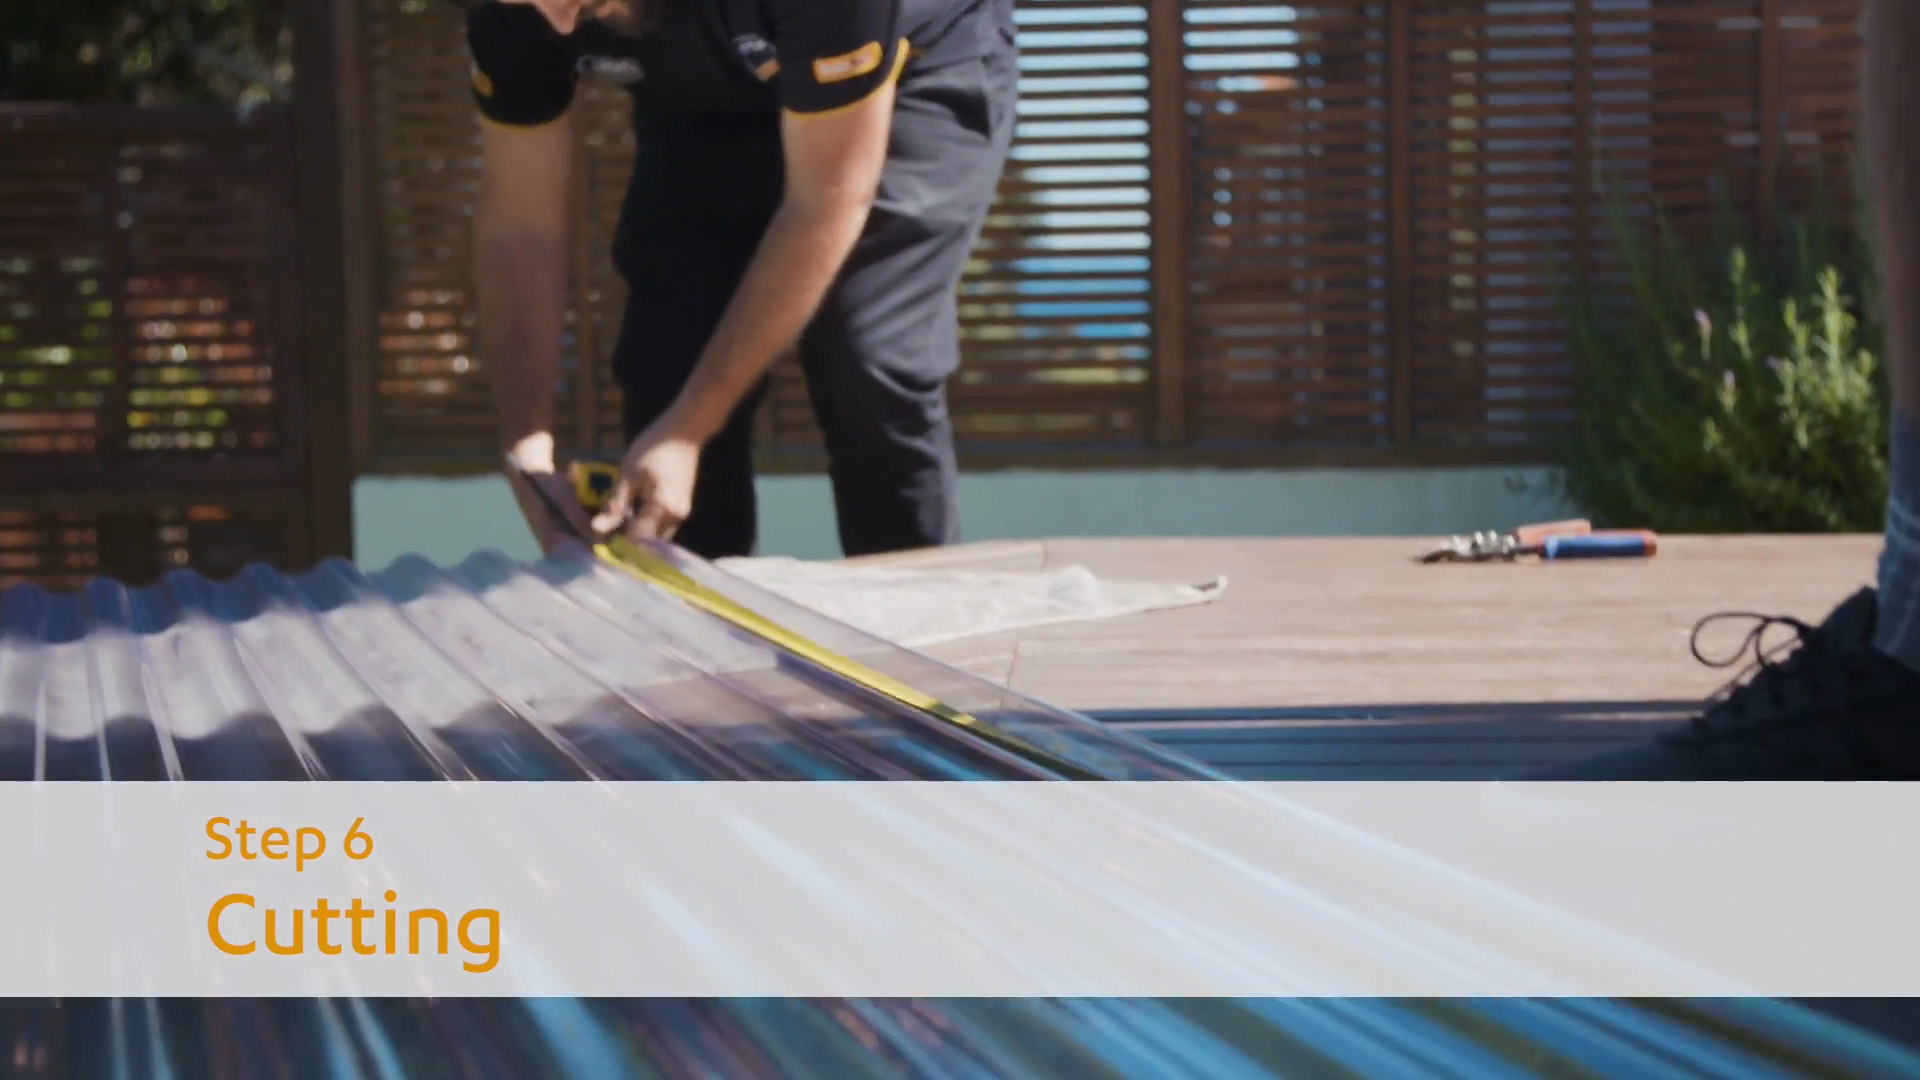
If you need to alter the length or width of the Suntuf sheeting, it can be cut on site using various methods, a circular saw using an Irwin Marathon PVC blade or scoring with a sharp pointed Stanley knife and tear or simply with a pair of scissors.
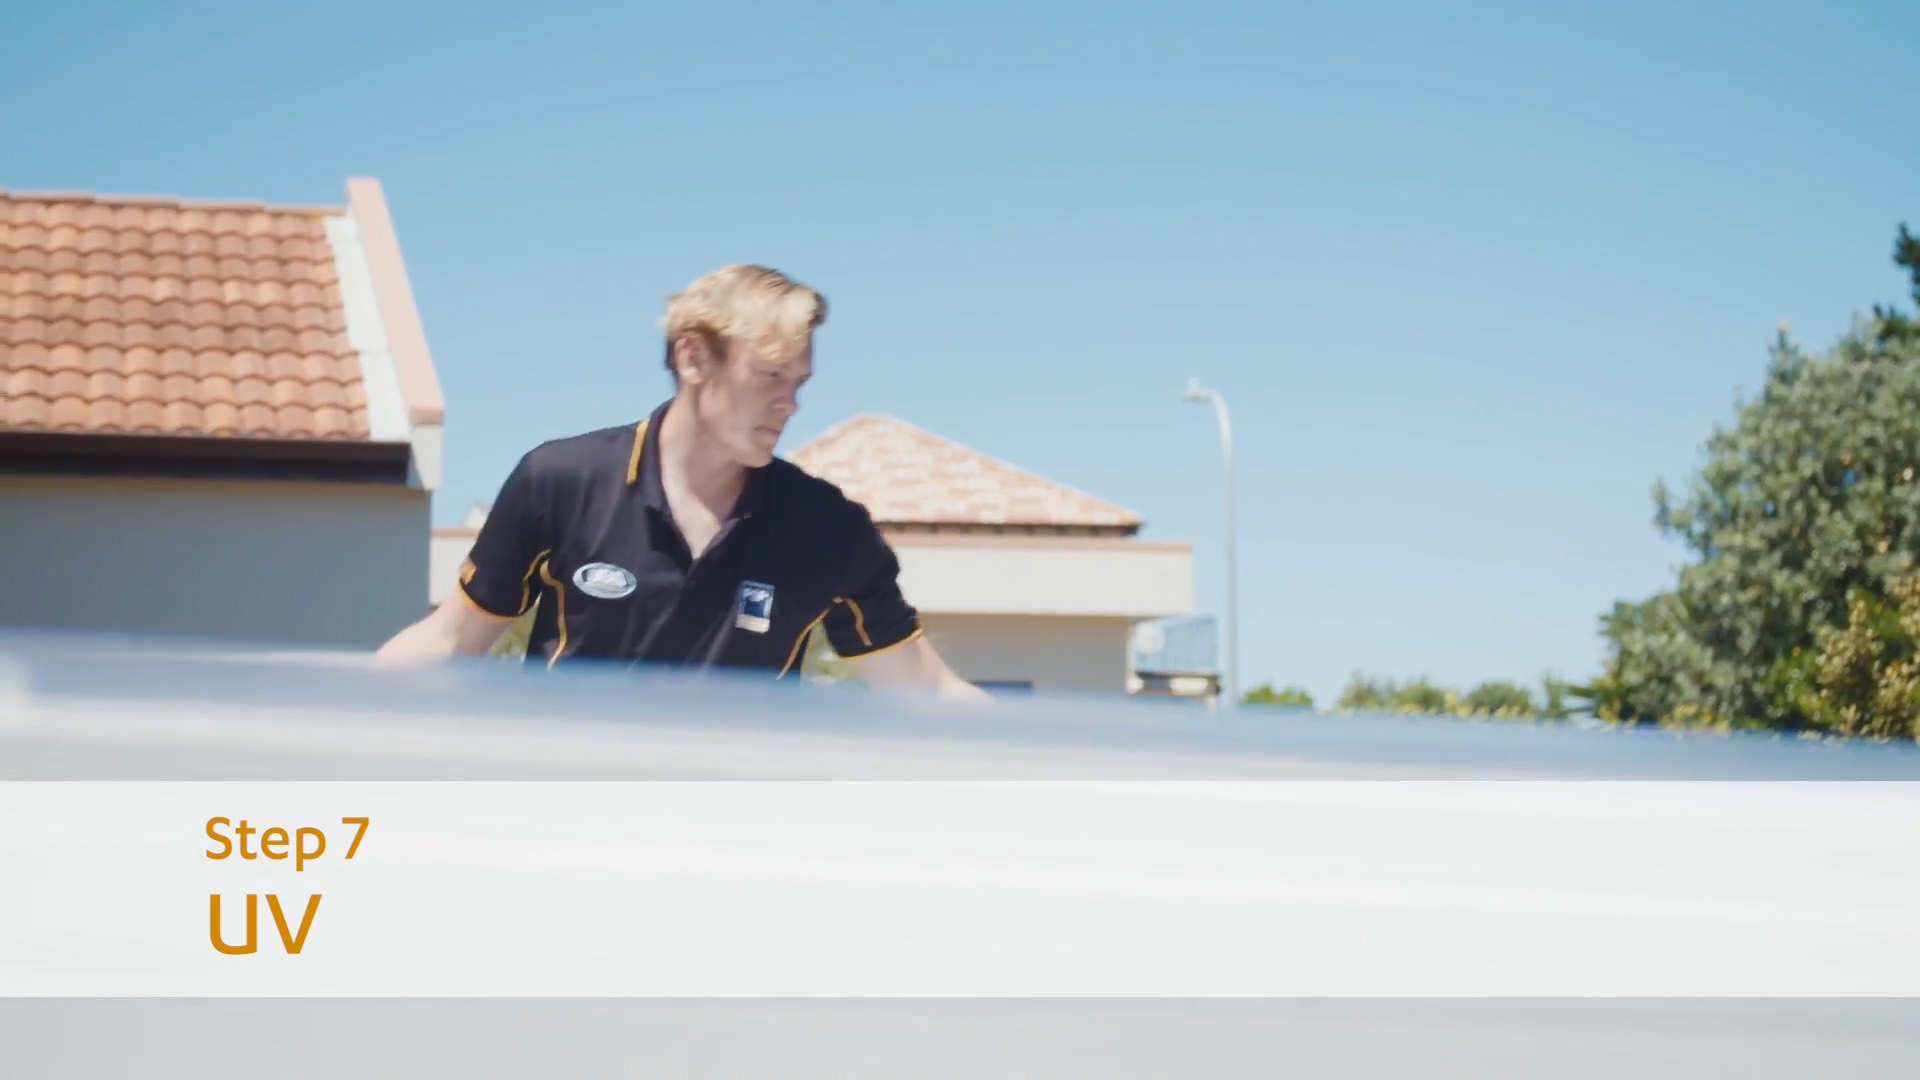
When installing the sheets make sure the label is facing up to the sun. If for some reason there are no labels, each sheet has an ink printed tattoo – make sure that is facing up towards the sun.
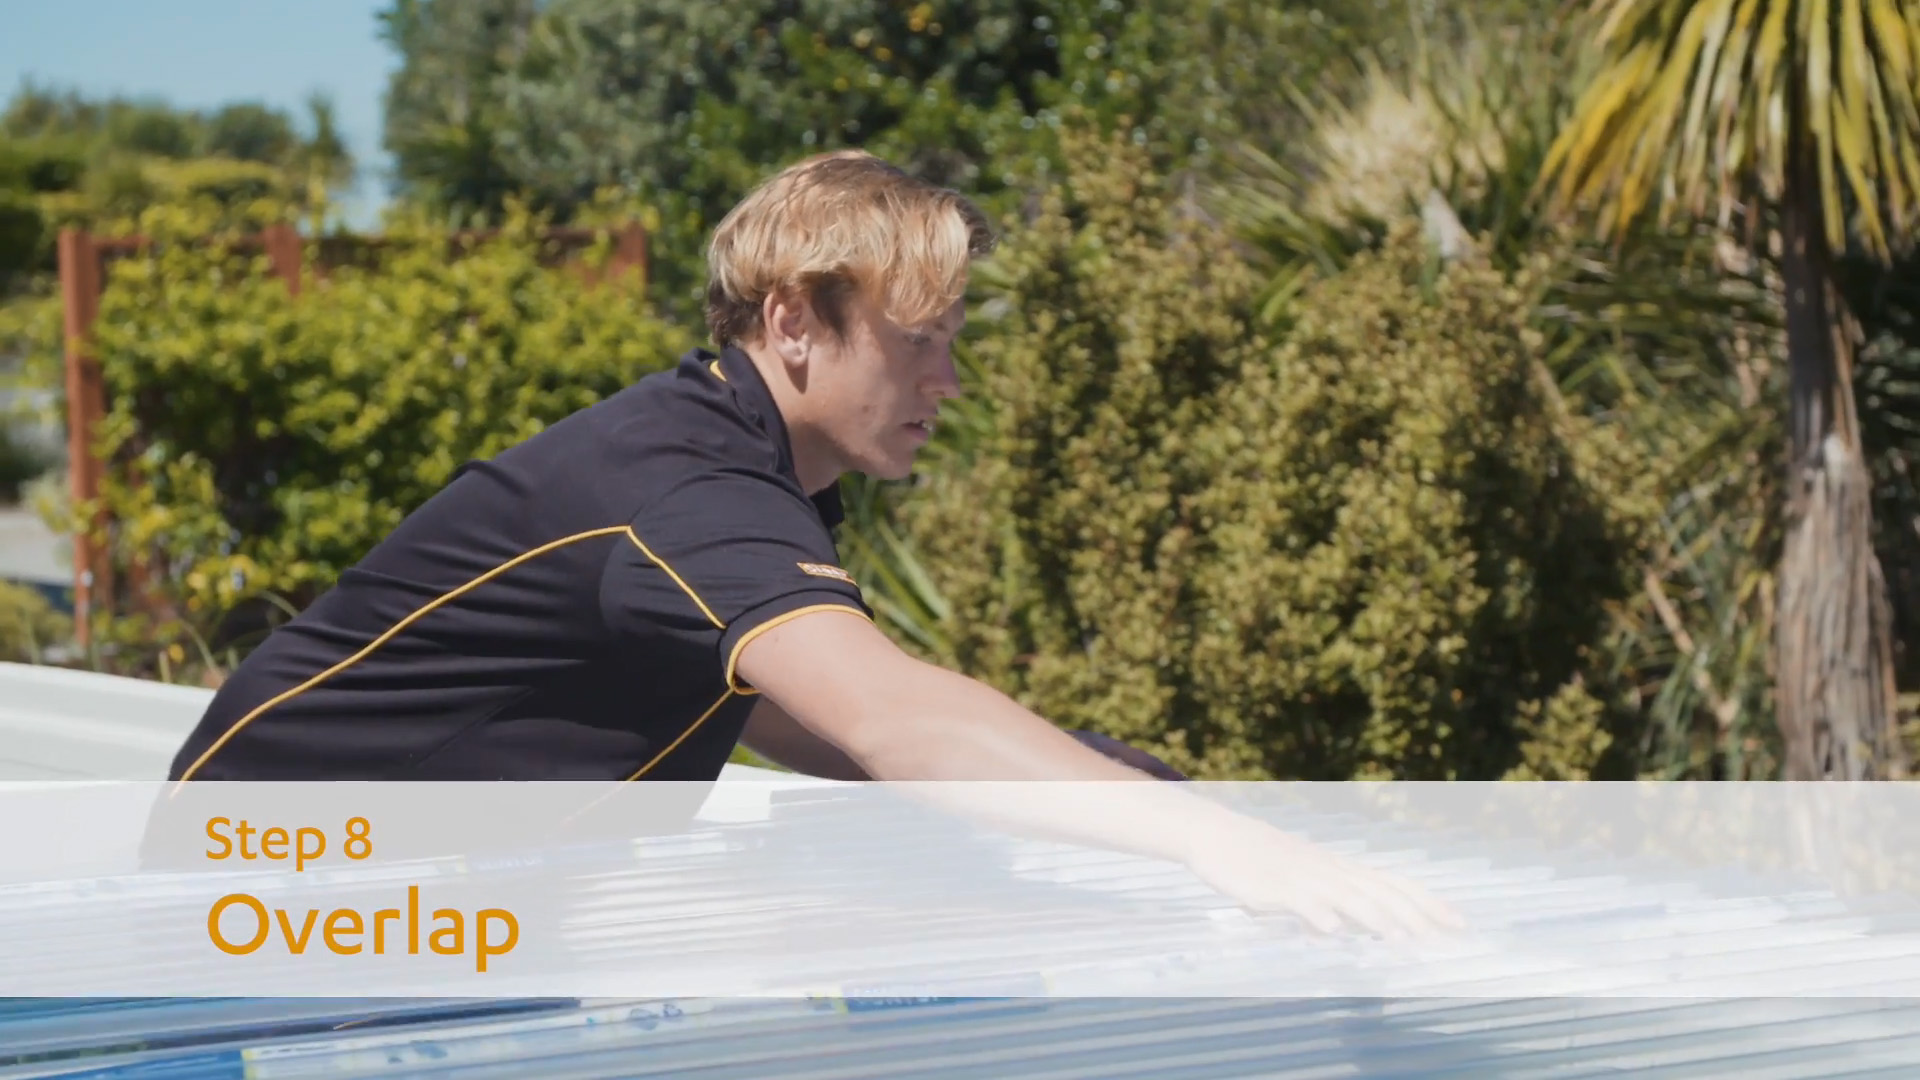
When joining the sheets, overlap one and half corrugations for the corrugated profile. And one overlap for the Greca profile. Make sure that your overlap sequence is away from the prevailing wind.
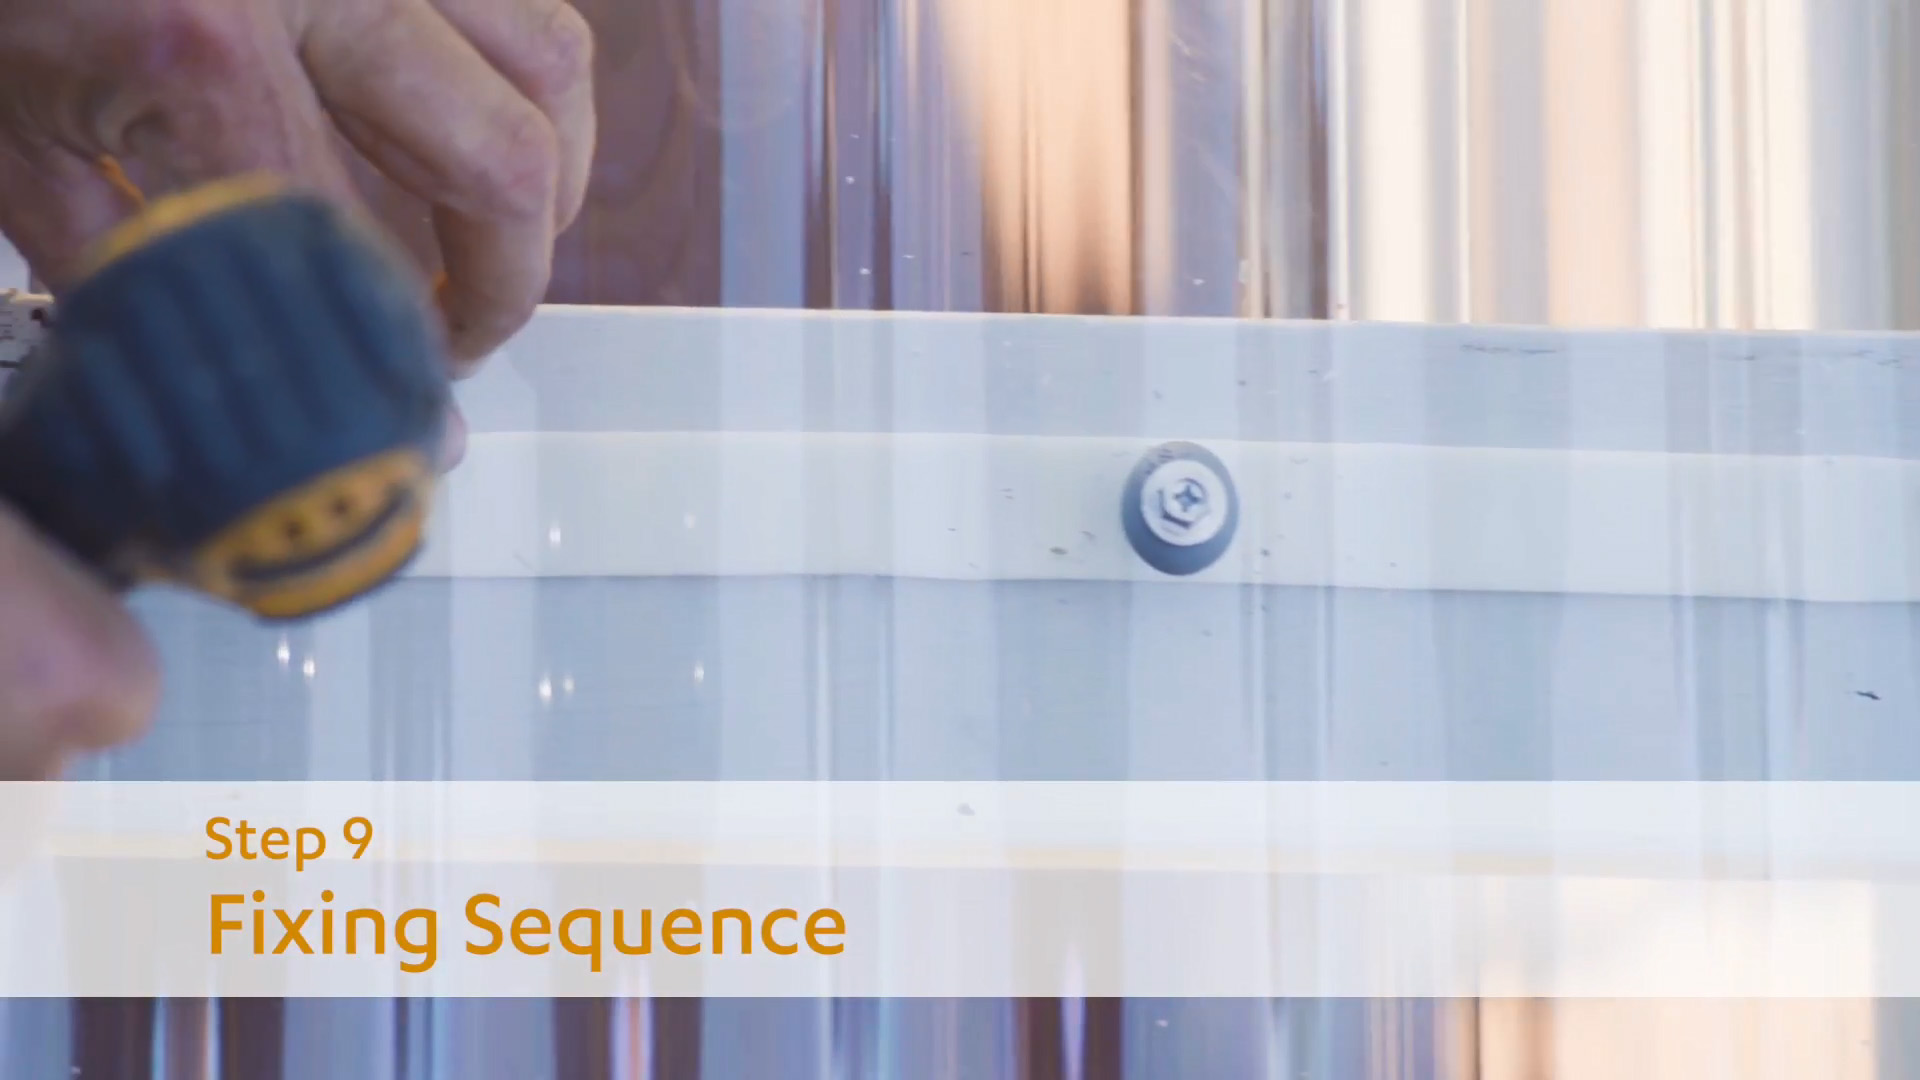
When fixing the sheets to the purlins. The hole/fixing sequence is every second crest on the first and last purlin (top & bottom) and every third crest on the intermediate (middle) purlins.
It is also recommended that you fix every overlap.
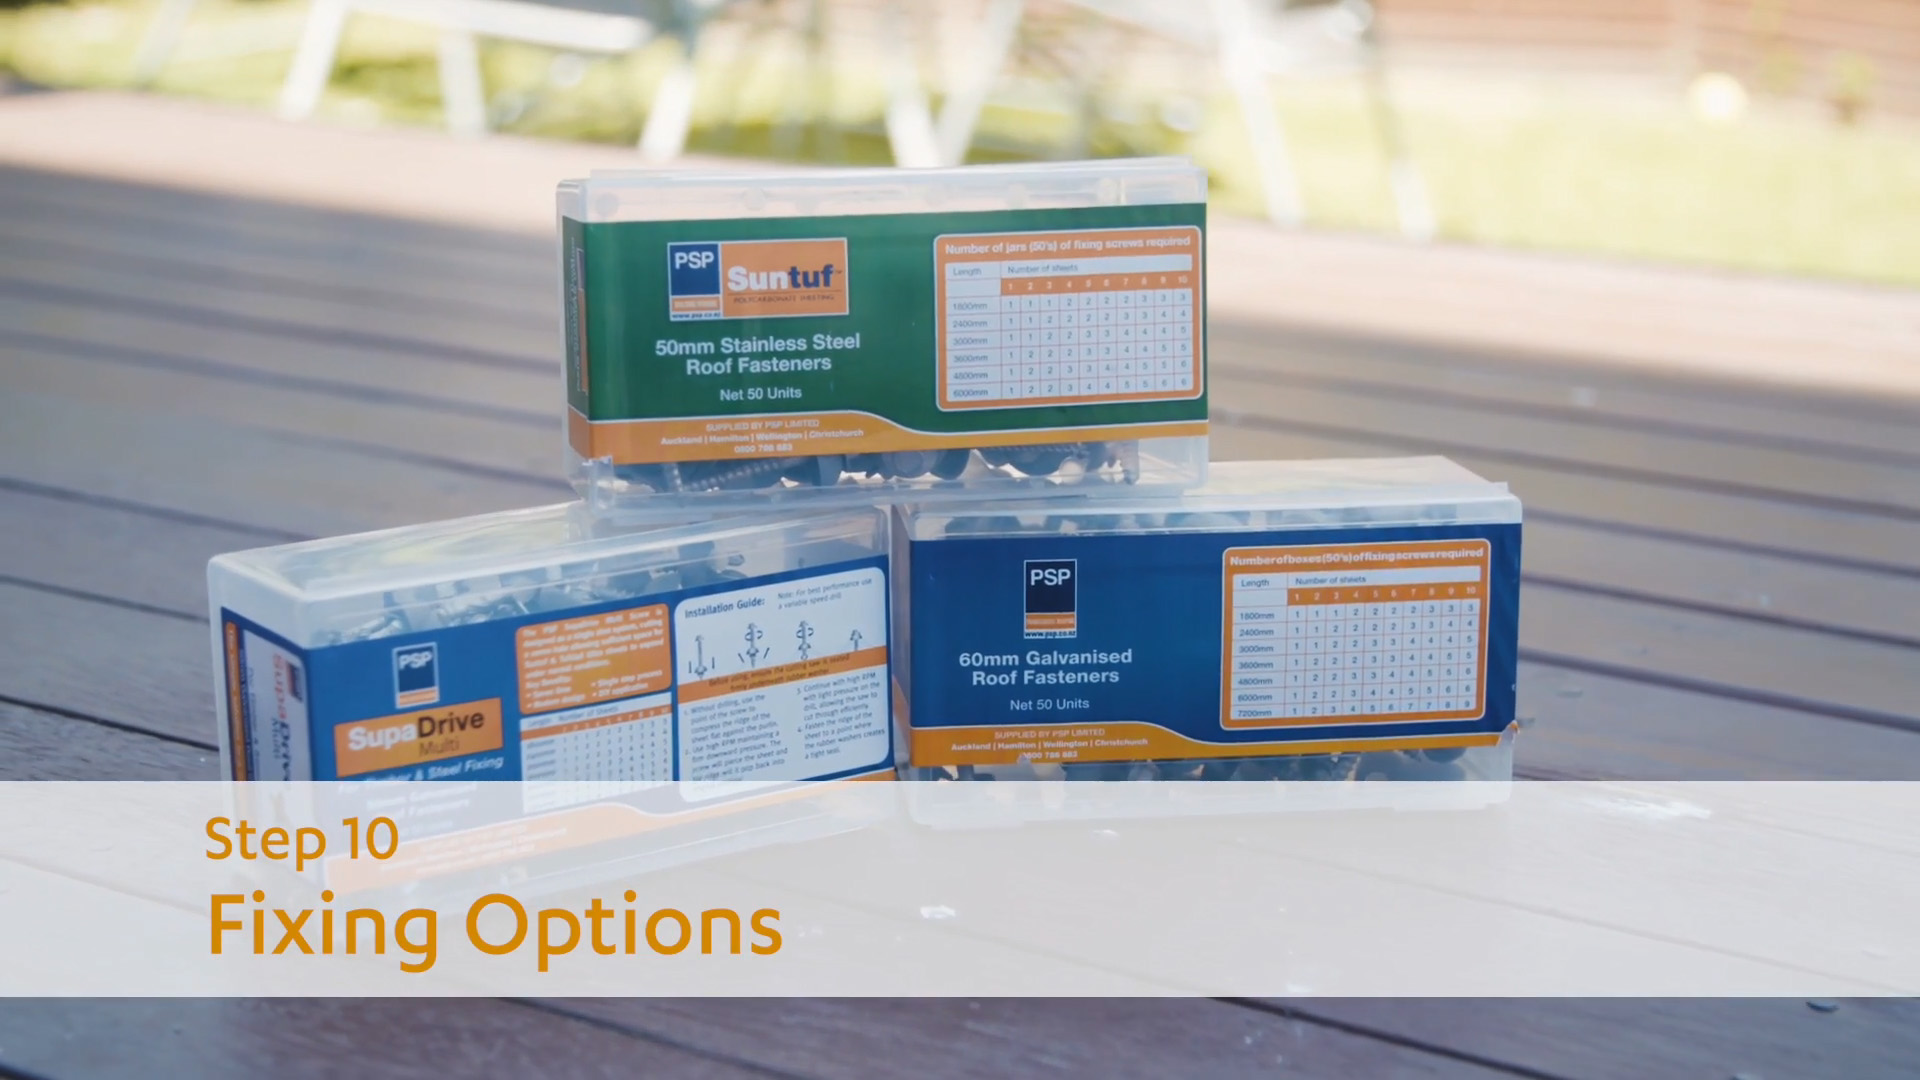
If you are using PSP’s Galvanised or Stainless Steel DIY fixings, ensure that you pre-drill a 10mm size hole.
If you want to save time use PSP SupaDrive Multi, this fixing pre-drills the 10mm hole and fixes the Suntuf sheets to your roofing structure in one process.
For roofing applications fasten through the crests. Tighten your fixings until the rubber washer slightly pushes the crest downward with the washer sitting snug onto the sheet. Be sure not to overtighten and be sure that the fixings are perpendicular to the angle if the roof to allow sufficient expansion and contraction of the sheets.
If you are using Suntuf as a wall situation, fasten through the valleys with the PSP DIY wall galvanised or stainless steel fixings.
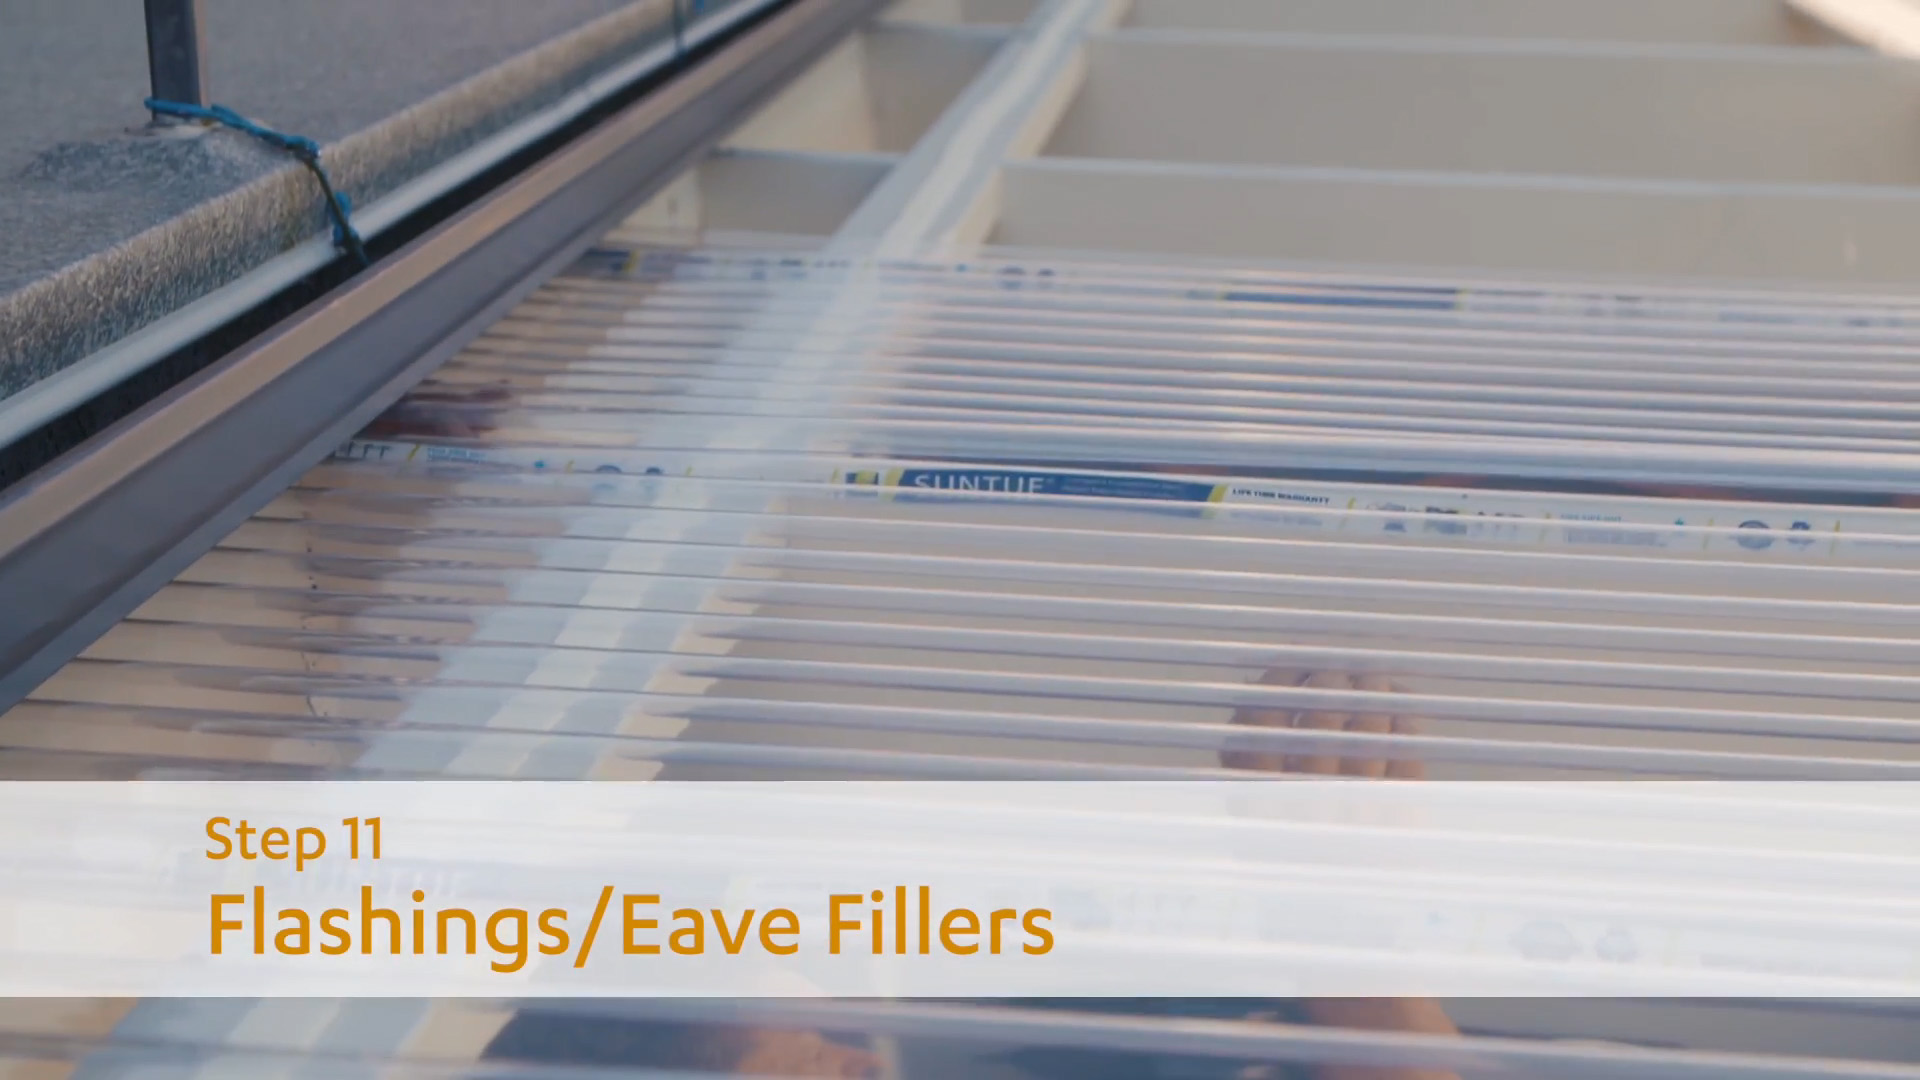
For sealing (flashing) the area between the roof and the building, use the Suntuf apron flashing. If you have a hip type roof use the Suntuf ridge flashing. These are clear in colour and are designed to fit over the sheets.
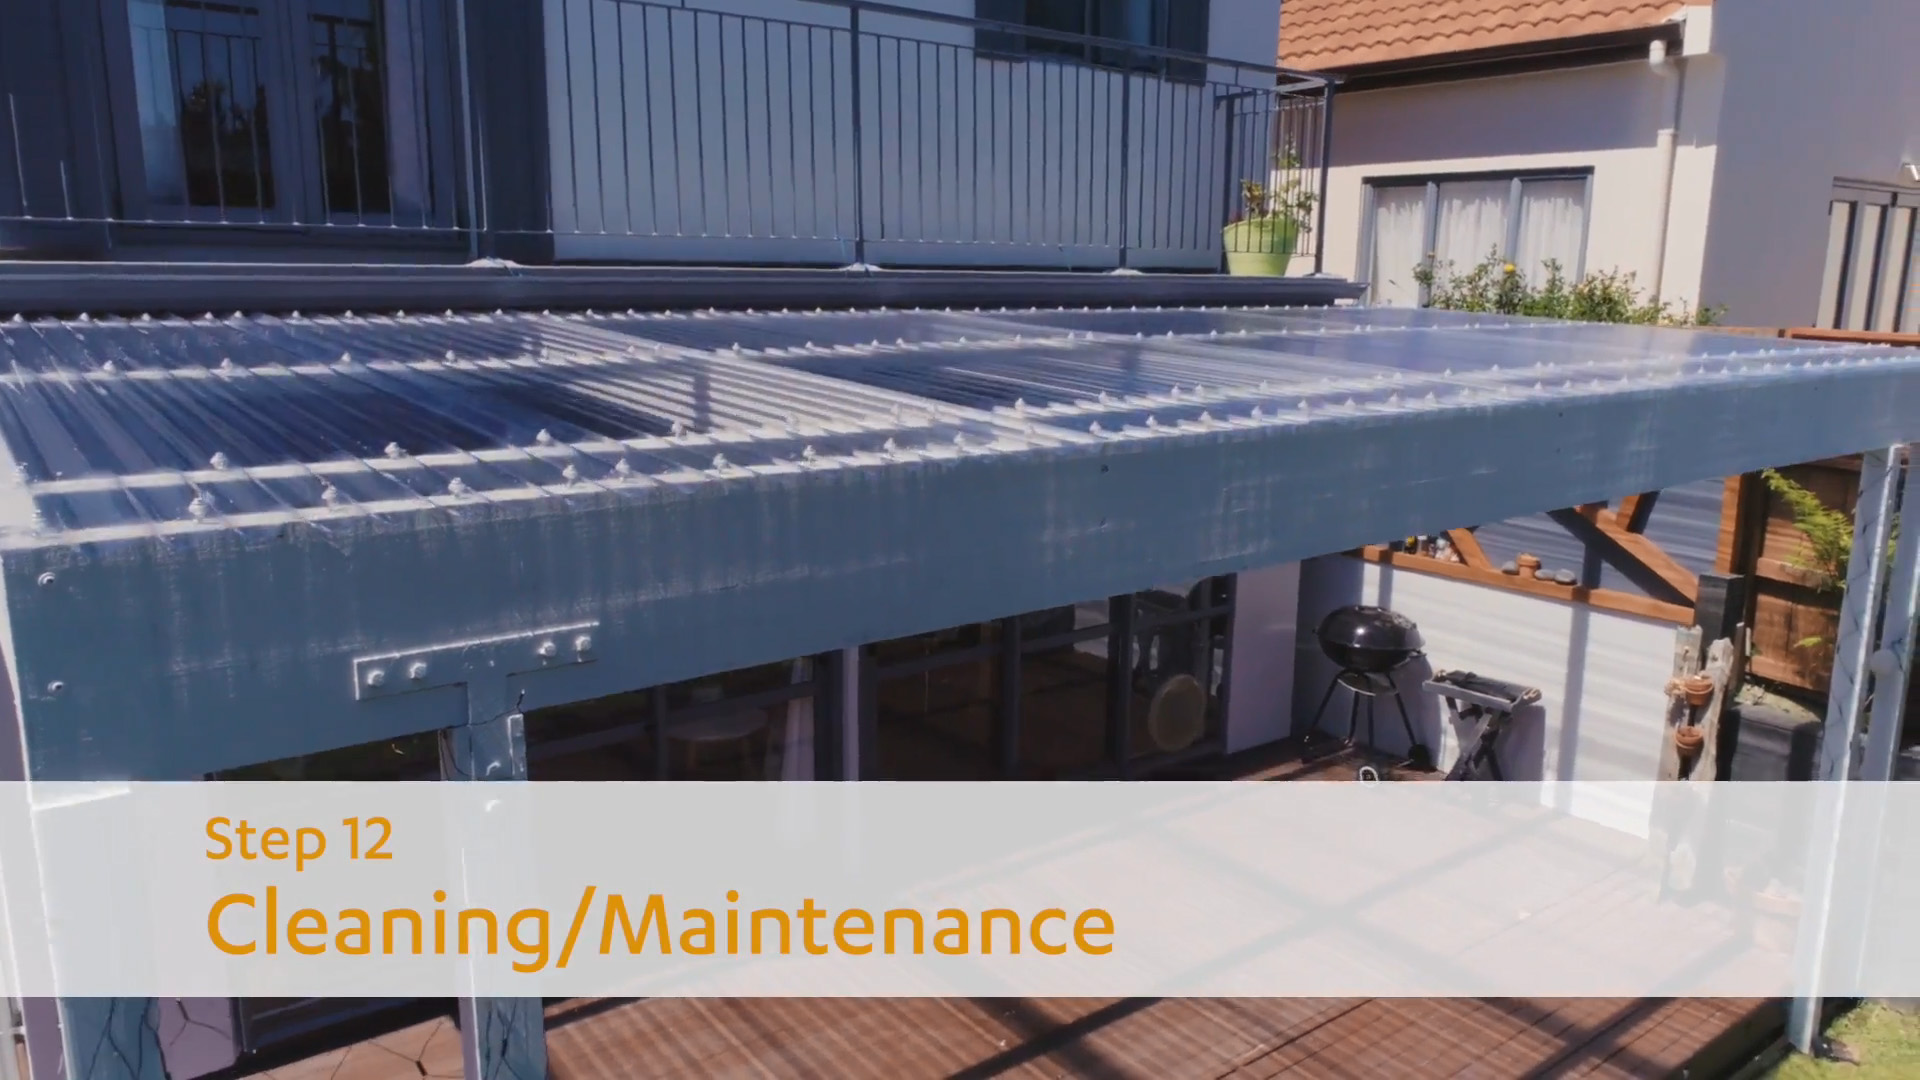
When cleaning your Suntuf polycarbonate Roof, make sure that you do not use cleaning agents with abrasive contents or a chemical base, these products will affect the look of your roof – 30 Seconds organic is a good option for long term maintenance, simply applied by attaching the container to your hose.
For best results use a high pressure hose or a water blaster, keep the nozzle at least 500mm away from the sheets.
Make sure not to walk or lean on your sheets at any time, Use safety approved crawl boards spanned between purlins at all times.